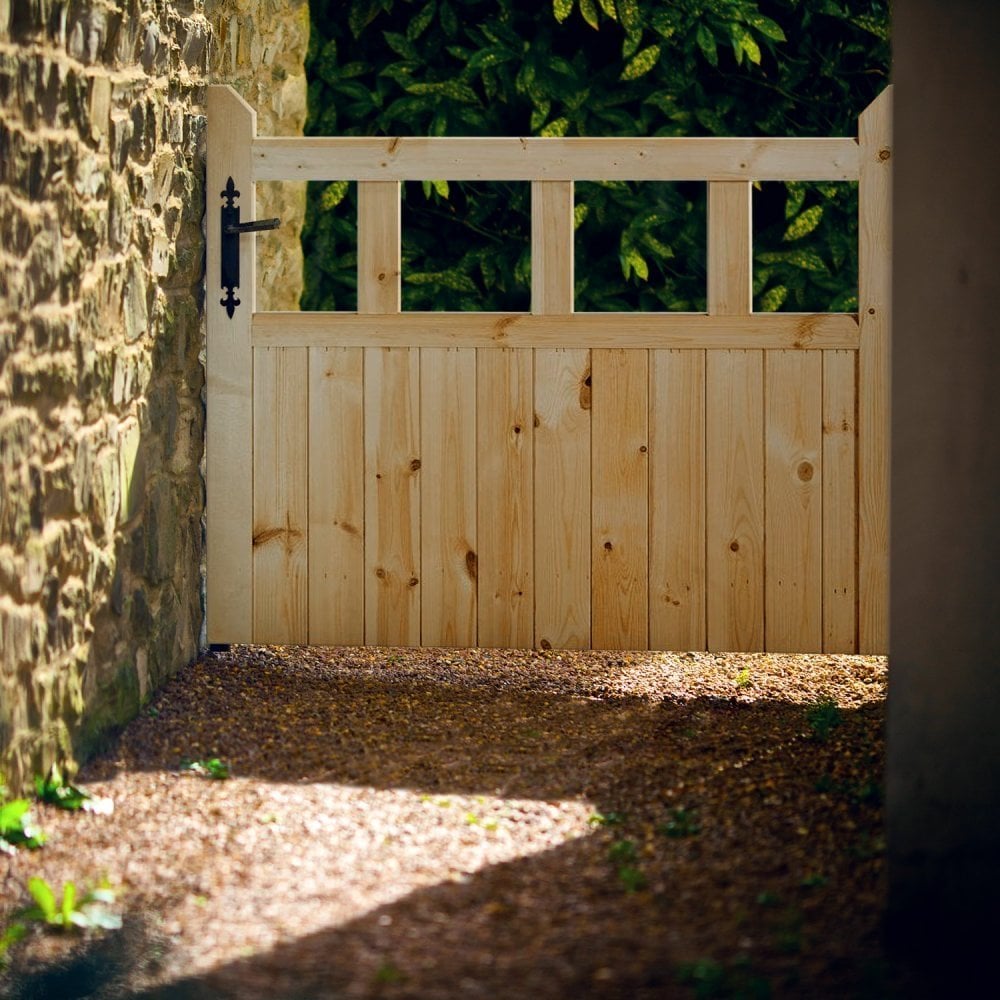
How to treat External Wood Doors
Leader Online Help & Advice Centre
How to treat External Wood Doors
Each of our external wood doors at Leader Online are designed to the highest quality to ensure that your doors are stable, long lasting and resistant to damage such as warping. However, your doors won’t last half as long if you don’t show them the care they deserve! Over time, the effects of dealing with harsh weather conditions such as wind, rain and snow can take a toll on a wood door causing unpleasant issues such as rot.
Treating a wood door before fitting it can prevent you from frequently having to replace your doors - saving you plenty of money in the long-run! You’ll need to treat your external wood door before fitting it, and then give it a good clean and re-treat every two or three years to keep on top of the condition.
It’s a simple enough process, but to help you keep your external wood doors in tip top condition follow the steps below…
-
Materials
Get your materials and tools together first. You’ll need:
• Safety Goggles, Mask & Gloves | Safety first, protect yourself during the job.
• Dust Sheets | To protect the room you’re working in.
• Masking Tape | Cover any glazing or door hardware to prevent damage.
• Sanding Pads | We recommend 150 grit to 250 grit.
• Varnish Paint Brush | For smooth application.
• External Treatment | We offer a great external door stain kit.
• Microfiber Cloth | Perfect for clearing away dust of any kind.
-
Preparation
Safety first! Check that you’re following these safety tips while treating your doors:
1. Make sure your workspace is well ventilated.
2. Avoid treatment contact with your skin and eyes.
3. Cover any electrical sockets, cables and switches to prevent short-circuiting.
4. Avoid naked flame near the treatment.
5. No eating, drinking or smoking while you work.
6. Keep children and animals away from the workspace.
7. Wash face and hands thoroughly after the job is complete.
Once you’ve got all your kit together, it’s time to get on with the job…
-
1. Safety Gear
Put on your safety gear - goggles prevent sawdust from getting in your eyes, the mask will stop you breathing in any dust or fumes and the gloves will help keep your hands safe when working with the tools.
-
2. Ventilation
Open all the windows in your working area, ventilation is important before and after applying the treatment.
-
3. Cover Hardware
Cover any glazing or door hardware with masking tape to ensure that it’s not damaged in the process.
-
4. Check Uneven Areas
Buff over any uneven areas with a sanding pad - our doors are pre-sanded but you may find that if you’ve cut spaces for hardware such as the handles and hinges that you may need to sand over them again for good measure.
-
5. Remove Dust
Wipe away any dust with a microfiber cloth to ensure the surface is clear.
-
6. Check For Damp
Check - is the wood door clean, dry, and free from any damp or moisture?
-
7. Follow Instructions
Follow the instructions of your chosen treatment, as a general rule you’ll need to give the treatment a good stir before you apply it to the door using a flat brush.
-
8. Apply Treatment
Apply the treatment evenly, and try to follow the direction of the door fibres.
-
9. Check All Areas
Check that you’ve treated every bit of the wood - including any spaces such as inside the lock and letterbox cut outs, along the top and bottom edges, and even behind the hinges - moisture will sneak in anywhere it can!
-
10. Temperature
Try not to apply the treatment in very cold or very hot temperatures - room temperature is just fine.
-
11. Treat Both Sides
Ensure that both sides of the door are treated at the same time to maintain an even moisture content throughout the full thickness of the door.
-
12. Leave To Dry
Leave the treatment to dry - if you’ve got the right temperature in the room, you should find that the treatment should be dry to the touch and ready to be repainted after a day.
Take a look at our full collection of external doors at Leader Online and find external wood doors in oak, pine and hardwood.


